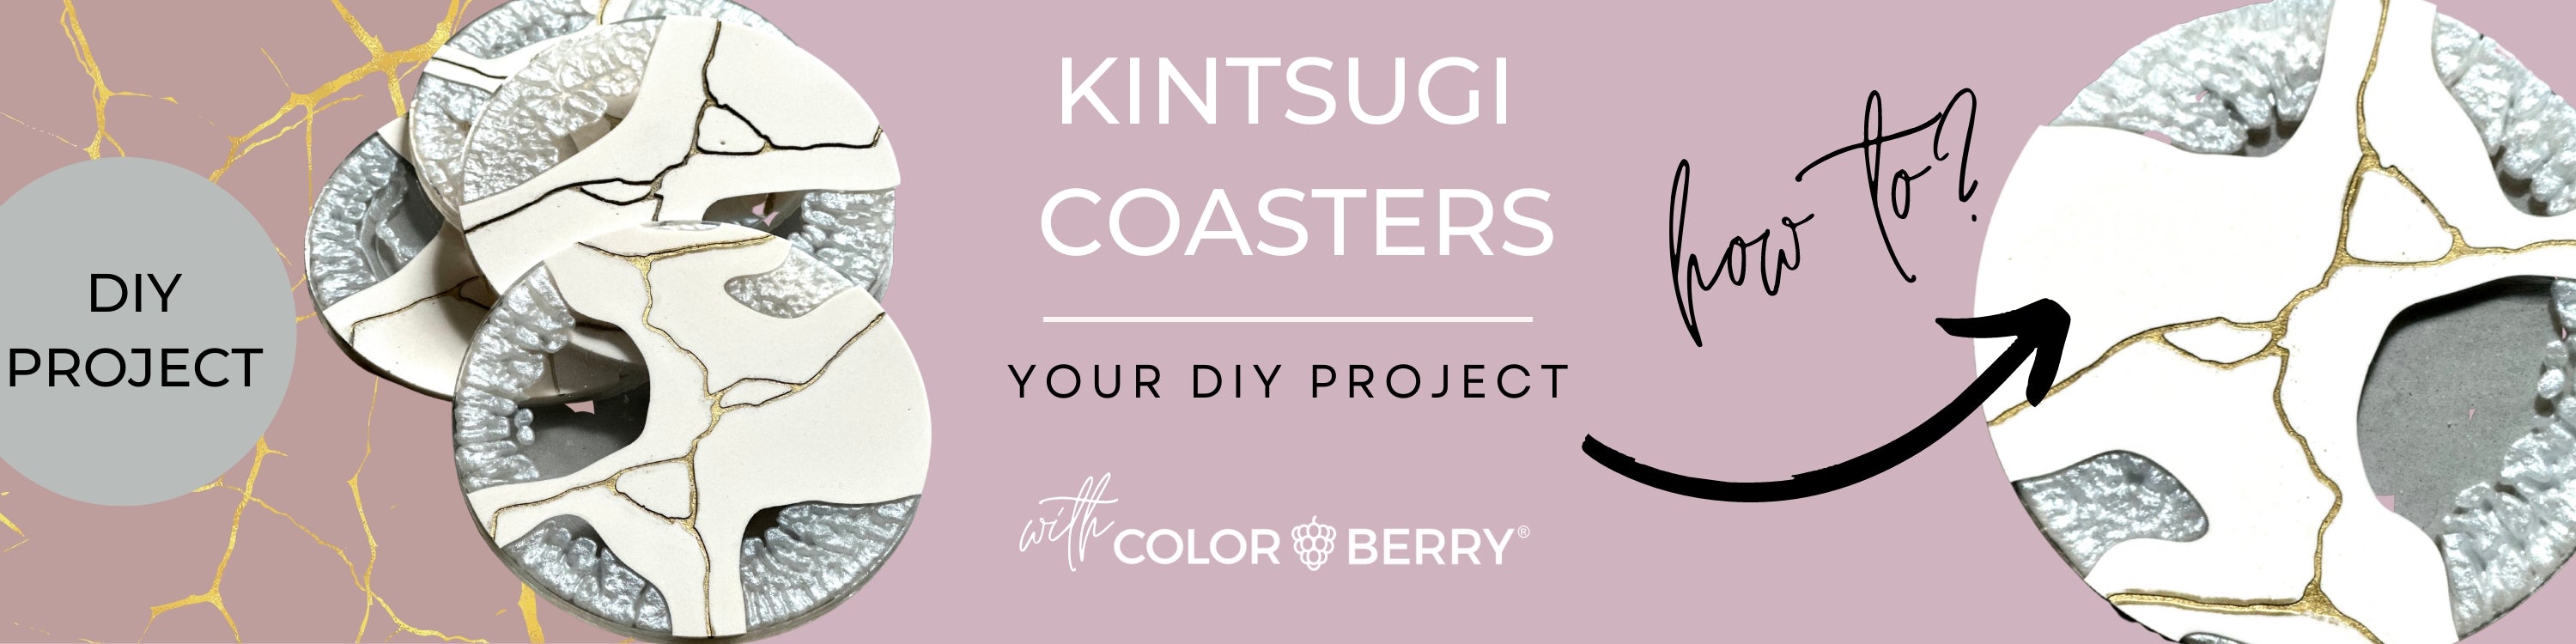
Hello and welcome to my tutorial blog "Kintsugi coasters", which I made myself with the main materials JESIN and RESIN.
Before we dive into the pouring world, I want to briefly explain the meaning of Kintsugi and what exactly it is all about.
Kintsugi is a traditional Japanese art form of repairing broken porcelain or ceramics using gold lacquer. The word "Kintsugi" is made up of the two Japanese words "Kin" (gold) and "tsugi" (joint/repair), which literally means "golden joint" or "golden repair".
The philosophy behind Kintsugi is based on recognizing and appreciating beauty in impermanence and imperfection. Instead of hiding the breakage or throwing away the damaged object, Kintsugi emphasizes the repair as part of the object's history and makes it visible.
Kintsugi is often considered a metaphor for life itself. It reminds us that breakage and damage are a natural part of our existence and that there is beauty in that.

Kintsugi is not only a craft art, but also a spiritual and philosophical practice that teaches us to accept our wounds and grow from them. It symbolizes the idea that what was once broken can not only be restored, but also transformed into something precious and unique.
Isn't that just a wonderful meaning? And that's exactly why I'm having so much fun making these coasters for my dining table myself - and I hope you will too?!
WHAT U NEED?
So now first to the materials you'll need for this (Just click on the products to see what materials I used here).
1) RESIN (for the high gloss and transparent part)
2) JESIN (for the concrete look)
3) KINTSUGI SILICONE MOLDS
4) MICA POWDER
5) sticks for stirring
6) GOLD PEN for painting the cracks
7) fine SANDING PAPER
HOW TO POUR?
First of all, please make sure that the surface is level (preferably with a foil underneath, because resin and JESIN will not stick to it in case of spills).
Then, calmly mix the JESIN (2:1 = 2 parts powder + 1 part liquid by weight). I use the natural color of the JESIN here, which has a nice light cream tone. When the JESIN is lump-free, pour it exactly over the cracks in the silicone mold. This is very important, because only JESIN can be sanded off afterwards without any problems and without any further finishing!

Then you should wait about 20 minutes for the JESIN to dry.
In the next step you mix your resin - which should not necessarily be super viscous, because we want to avoid as much as possible many bubbles in the resin. I use the D-CAST or as an alternative you can also use the CRYSTAL RESIN. Per coaster you need about 80 gr / ml ready mixed resin (resin + hardener). Fill the molds with it - but make sure that a little clear resin remains in the cup, because we will now mix it with the mica powder (here CARAT PEARL) and distribute it in a circle around the edge of the silicone molds.


Feel free to spray COLORBERRY's BUBBLEBYE in between and also in the end to remove the bubbles on the surface.
Then let the coasters harden completely. This time always depends on which resin you use, but in my case it is about 12-24 hours (depending on room temperature).


After the hardening time you can now take the coasters out of the mold and take a golden marker to paint the cracks. The cracks in the coasters are so fine that you probably - like me here - also paint the surface. But this is absolutely no problem, because with a fine sandpaper you can simply sand away the remains on the JESIN. But please wait with this step until the gold marker is completely dry.
And voila! Now your DIY KINTSUGI coasters are ready!
Wasn't that easy?
